loader本质上是导出为函数的JavaScript模块。loader runner中包含实用的方法this.async()可以使loader调用方式变为异步。
# 一、环境搭建
# 1. 项目初始化
或许你期望按照官方给出的指南 (opens new window)来起步
新建目录并初始化项目
mkdir webpack-loader
cd webpack-loader
npm init
安装webpack与cli
npm i -D webpack webpack-cli
安装html-webpack-plugin与clean-webpack-plugin
npm i -D html-webpack-plugin
npm i -D clean-webpack-plugin
- html-webpack-plugin 会将 webpack 打包出来的 js 文件自动引入到 html 中
- 每次执行 npm run build 会发现 dist 文件夹里会残留上次打包的文件,clean-webpack-plugin 在打包输出前会清空文件夹
# 2. 项目配置(模拟使用场景)
新建一个文件夹 src,然后新建一个文件 index.js,编写一段代码模拟使用场景
const checkUrlList = [
    "https://d-dev.zhgcloud.com/image/2021/6/2/60b75680287c1.png",
    "https://d-dev.zhgcloud.com/image/2021/6/2/60b73e58b38d0.jpg",
    "https://d-dev.zhgcloud.com/image/2021/6/2/60b75758164c6.png",
    "https://d-dev.zhgcloud.com/image/2021/6/2/60b752cd01b1c.png",
    "https://webpack.docschina.org/site-logo.1fcab817090e78435061.svg",
];
for (let i = 0; i < 5; i++) {
    console.log(i);
    var img = document.createElement("img");
    img.setAttribute("src", checkUrlList[i]);
    document.getElementById("body").appendChild(img);
}
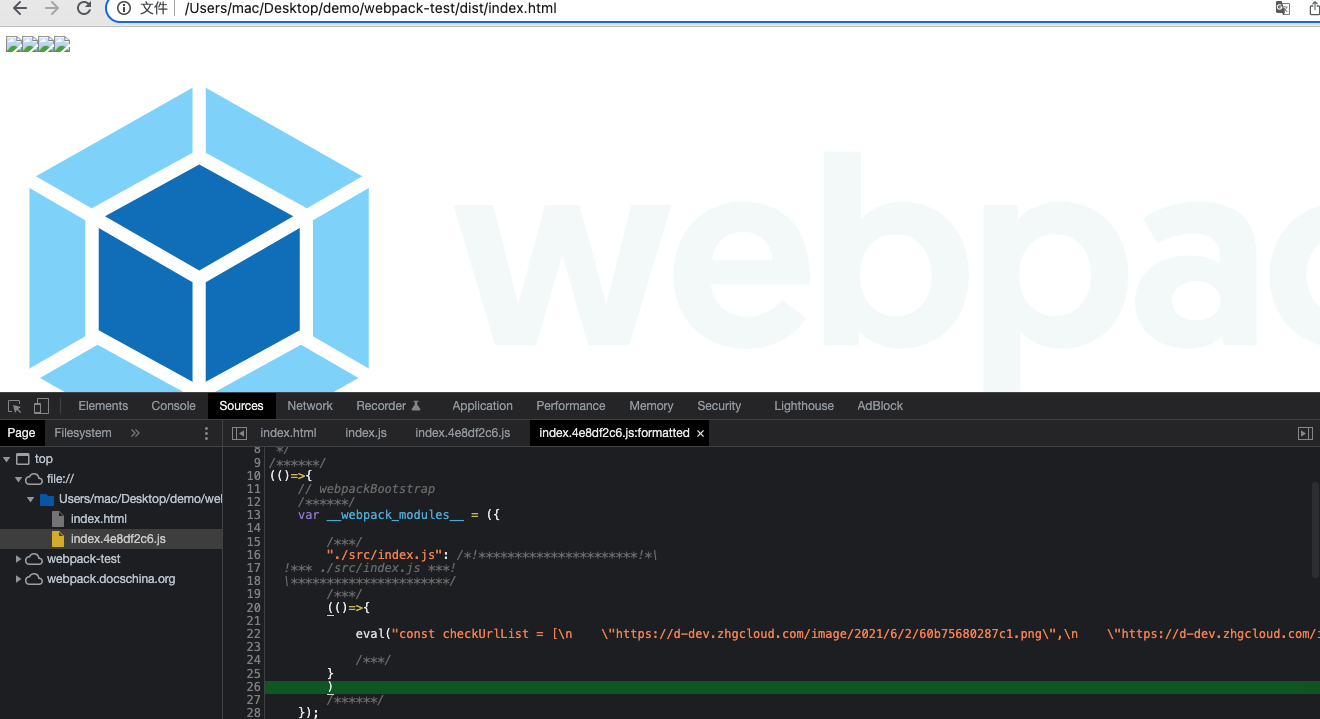
- 前四张图片地址是失效的,第五张可访问
新建一个文件夹 public,然后新建一个文件 index.html,用于在浏览器调试
<!DOCTYPE html>
<html lang="en">
    <head>
        <meta charset="UTF-8" />
        <meta http-equiv="X-UA-Compatible" content="IE=edge" />
        <meta name="viewport" content="width=device-width, initial-scale=1.0" />
        <title>Document</title>
    </head>
    <body id="body"></body>
</html>
- 给
body设置一个id="body"
# 3. webpack 配置
新建一个 build 文件夹,里面新建一个 webpack.config.js,进行如下配置
const path = require("path");
const HtmlWebpackPlugin = require("html-webpack-plugin");
const { CleanWebpackPlugin } = require("clean-webpack-plugin");
module.exports = {
    mode: "development", // 开发模式
    entry: {
        index: path.resolve(__dirname, "../src/index.js"),
    }, // 入口文件
    output: {
        filename: "[name].[chunkhash:8].js", // 打包后的文件名称
        path: path.resolve(__dirname, "../dist"), // 打包后的目录
    },

    plugins: [
        new CleanWebpackPlugin(),
        new HtmlWebpackPlugin({
            template: path.resolve(__dirname, "../public/index.html"),
            filename: "index.html",
            chunks: ["index"], // 与入口文件对应的模块名
        }),
    ],
};
在package.json添加打包命令

Tips: 需要注意的是webpack是运行在node环境中的,谨记这一点下面会用到
# 4. 使用 loader 前打包
运行打包命令

在浏览器查看未使用 loader 打包的 index.js 
- 页面按序加载了四张失效图和一张有效图
# 二、手写 loader
新建一个 lib 文件夹,里面新建一个 replace-legal-img.js,编写如下代码
const https = require("https"); // 加载待检测的 图片`url`,根据其返回值决定是否替换成合法图片`url`
const parser = require("@babel/parser"); // 会将源代码解析成 `AST`
const traverse = require("@babel/traverse").default; // 对 `AST` 节点进行递归遍历,生成一个便于操作、转换的 `path` 对象
const generator = require("@babel/generator").default; // 将 `AST` 解码生成 `js` 代码
module.exports = async function (source) {
    const ast = parser.parse(source, { sourceType: "module" });
    var callback = this.async();
    let count = 0;
    let promiseAll = [];
    traverse(ast, {
        enter(path) {
            if (
                path.node.type === "StringLiteral" &&
                /^http[s]{0,1}:\/\/([\w.]+\/?)\S*[png|jpg|image|svg]$/.test(
                    path.node.value
                )
            ) {
                promiseAll[`${count}`] = new Promise((resolve, reject) => {
                    https.get(path.node.value, function (res) {
                        if (res.statusCode === 404) {
                            path.node.value =
                                "https://p26-passport.byteacctimg.com/img/mosaic-legacy/3793/3114521287~300x300.image";
                            resolve(path.node.value);
                        } else if (res.statusCode === 200) {
                            resolve(path.node.value);
                        }
                    });
                });
                count++;
            }
        },
    });
    Promise.all(promiseAll)
        .then((result) => {
            output = generator(ast, {}, source);
            callback(null, output.code);
        })
        .catch((error) => {
            console.log(error);
        });
};
- 由于
webpack基于node,所以使用https发起网络请求 - 图片
url是String类型的字面量即StringLiteral,配合正则表达式可以排出非图片url类型的StringLiteral - 由于网络请求是异步的,需要配合
this.async()告知loader runner等待异步结果返回 source若包含多个图片URL会发起多个网络请求,这时需要使用promiseAll组织所有promise的返回,使用count计数- 当
source中所有图片URL的请求全部执行完毕时Promise.all(promiseAll)给出返回值,这里再使用generator将检测替换新value后的AST转换成js,并使用callback告知loader runner执行完毕
最后在 webpack.config.js 中引入这个 loader
module.exports = {
    ...

    module: {
        rules: [
            {
                test: /\.js$/,
                use: path.resolve(__dirname, "../lib/replace-legal-img.js"),
            },
        ],
    },

    ...
};
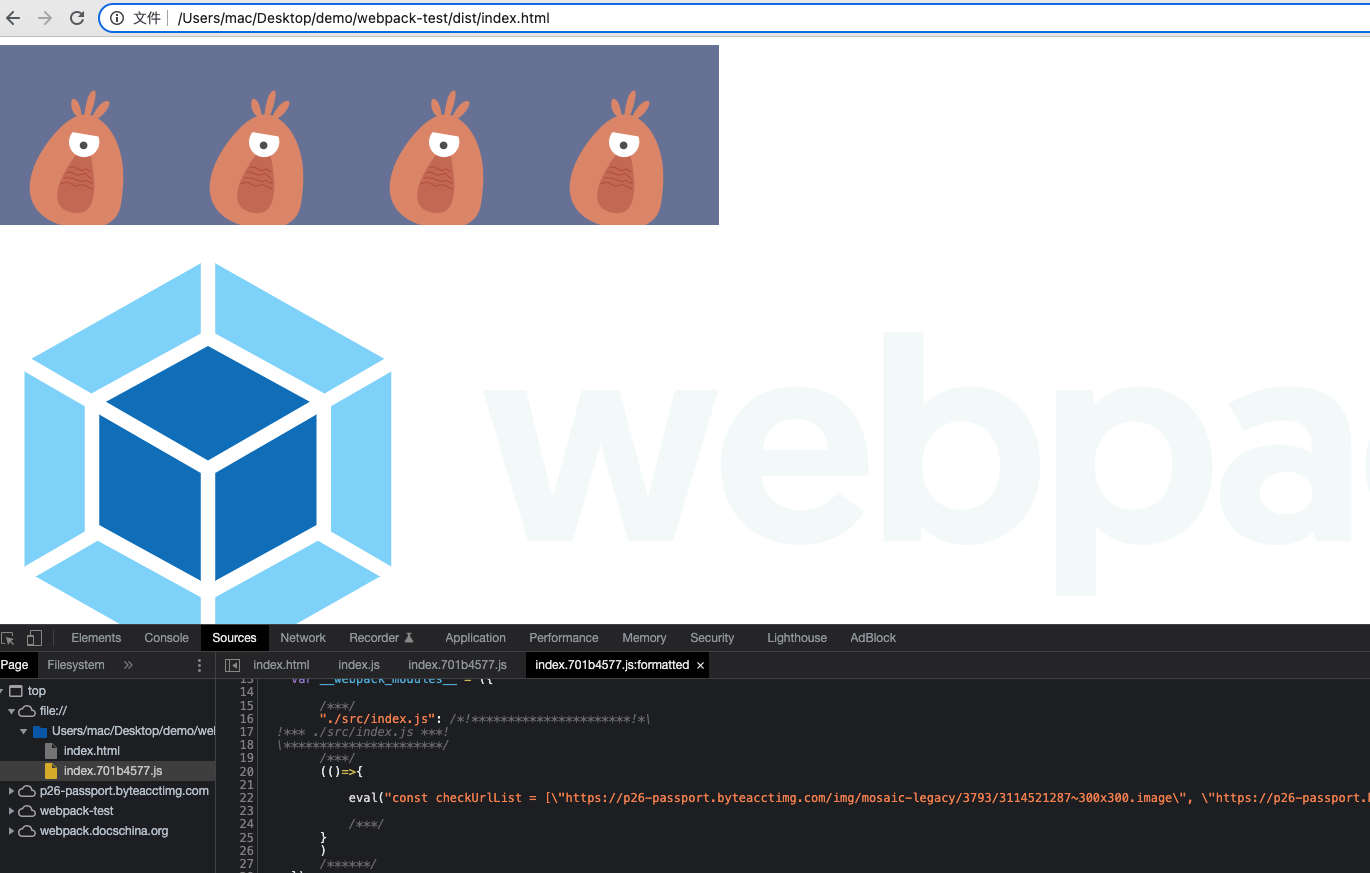
在浏览器查看未使用 loader 打包的 index.js 
- 页面按序加载了四张被替换的图片和一张有效图
# 三、参考
1. 2020 年了,再不会 webpack 敲得代码就不香了(近万字实战) (opens new window) 2. AST 抽象语法树——最基础的 javascript 重点知识,99%的人根本不了解 (opens new window) 3. Webpack 手写 loader 和 plugin (opens new window) 4. 手写清除 console 的 loader (opens new window) 5. babel-doc (opens new window) webpack-doc (opens new window)
← Dll
